Showing posts with label virginia tillery. Show all posts

Lily Bee + Elle's Studio: Day Three

>> Wednesday, October 26, 2011


ETA: We have a winner of Wednesday's giveaway: Jill! Congratulations, Jill! Send me your address at milesofpaper [at] gmail [dot] com.
For the winner of Tuesday's giveaway, click here.

Hello there! It's our third hop day. We are happy to see you here! We are having such fun time combining Elle's Studio products with Lily Bee goodies. Today, we have a couple of altered projects for you.

The first is this beautifully layered notebook by Virginia Tillery. It's the perfect place to jot down daily moments that you want to remember.


Lily Bee supplies:
Patterned Paper: Smitten - Head Over Heels
; Courting - Head Over Heels; Swoon - Head Over Heels
; Flirt- Head Over Heels; Crush- Head Over Heels; Dreamy - Head Over Heels
Mixed Cardstock Stickers: Head Over Heels
ABC Stickers: Head Over Heels
Elle's Studio: Large Journaling Tags- Handmade Layers; Pennants- Handmade Layers; Pennants- Pink
Other: Punch, Dark Brown Mist, Rhinestones, Pin, Seam Binding

And how about these amazing Halloween treat holders by Cindy Liebel? Totally cool, aren't they? Cindy shows you how to make them on her blog.


Lily Bee Supplies:
Patterned Papers: Harvest Market-Turtleneck; Harvest Market-Black Licorice; Harvest Market-Peach Crisp; Harvest Market-Squash; Harvest Market-Hayride; Harvest Market-Pumpkin Seeds
Mixed Cardstock Stickers: Harvest Market
ABC Stickers: Harvest Market
Chipboard Stickers: Lovely; Catching Fall
Elle's Studio Supplies: Spooktacular Autumn Tiny Tags; Lil' Snippets: Gratitude; Lil' Snippets: Trick or Treat; Halloween Pennants
Other: Silhouette die-cut machine & EK Success punches

Don't forget to leave us a comment for a chance to win a lot of Elle's Studio goodies. And don't forget to go by Elle's Studio blog to see what they are up to today and for a chance to win Lily Bee products.
See you back here tomorrow for a sketch, some layouts, and more prizes! Have a great day!

Read more...

Focus On: Head Over Heels

>> Monday, October 17, 2011

Happy Monday! Today's Focus On is one of our newest lines, Head Over Heels. This gorgeous line was designed by our own team member, Julia Stainton (who also designed the previously released Picket Fence). Head Over Heels is the perfect line for those layouts about the people you love. The colors are bright and the patterns are fabulous and sweet. You'll want to see it in person!

Shall we take a closer look at what our team put together using mostly Head Over Heels? Let's!


Lily Bee supplies:
Patterned Paper:
Swoon-Head Over Heels
Courting-Head Over Heels
Dreamy-Head Over Heels

Mixed Cardstock Stickers:
Head Over Heels

ABC Stickers:
Head Over Heels

Other:
vintage typewriter, sewing machine, hearts


Lily Bee supplies:
Patterned Paper:
Smitten-Head Over Heels
Courting-Head Over Heels
Swoon-Head Over Heels
Flirt-Head Over Heels


Mixed Cardstock Stickers:
Head Over Heels

ABC Stickers:
Head Over Heels

Chipboard Stickers:
Lovely

Other:
Maya Road rose flowers, machine stitching, Fiskars border punch


Lily Bee Supplies:
Patterned Paper:
Head over Heels - Dreamy
Head over Heels - Swoon
Head over Heels - Bubblegum
Head over Heels - 6x6 Tiny Tablet


ABC Stickers: 
Head over Heels


Mixed Cardstock Stickers:
Head over Heels


Other:
Punch, Die Cut system, brad

And of course, we did wonder "What Would Julia Do"? So asked her. 


Lily Bee supplies:
Patterned Paper:
Oatmeal-Stationery
Dreamy-Head Over Heels
Flirt-Head Over Heels
Crush-Head Over Heels
Swoon-Head Over Heels
Smitten-Head Over Heels

Mixed Cardstock Stickers:
Head Over Heels

ABC Stickers:
Head Over Heels

Clear Stamps:
Head Over Heels
 
Chipboard Stickers:
Hello Sunshine

Other:
black ink

Hope you enjoyed these projects. Remember you still time to enter our sketch challenge. Find more info here.

Read more...

Starry, Starry Night

>> Friday, October 7, 2011

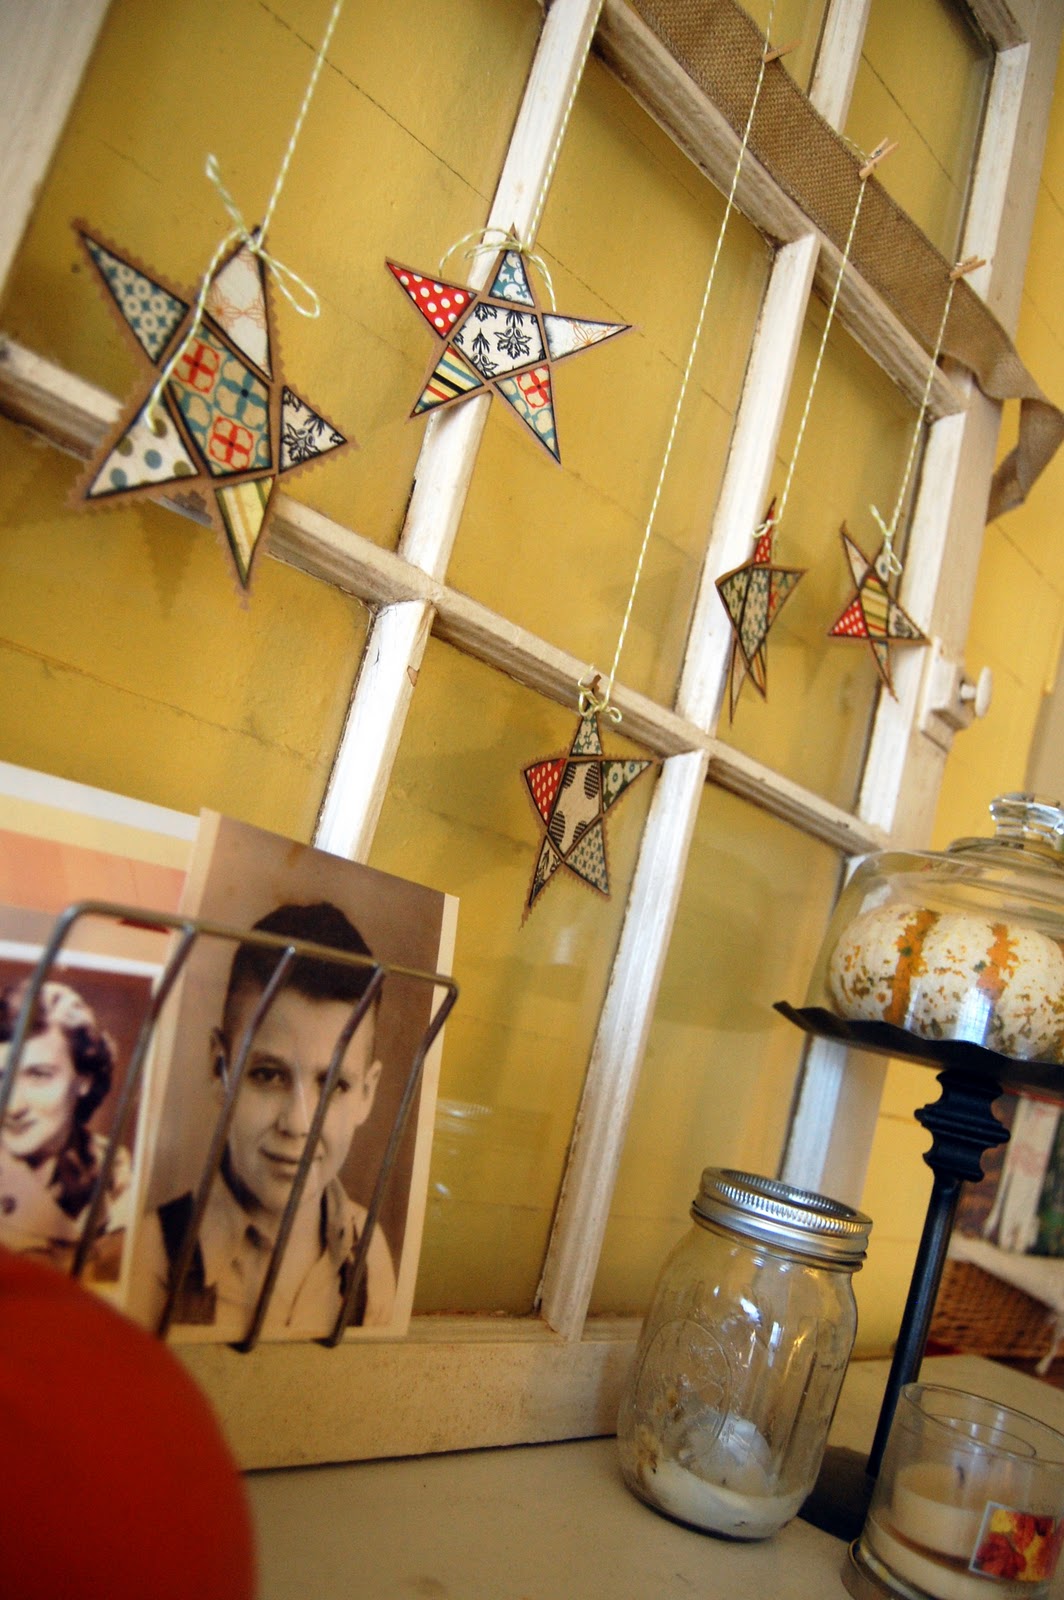
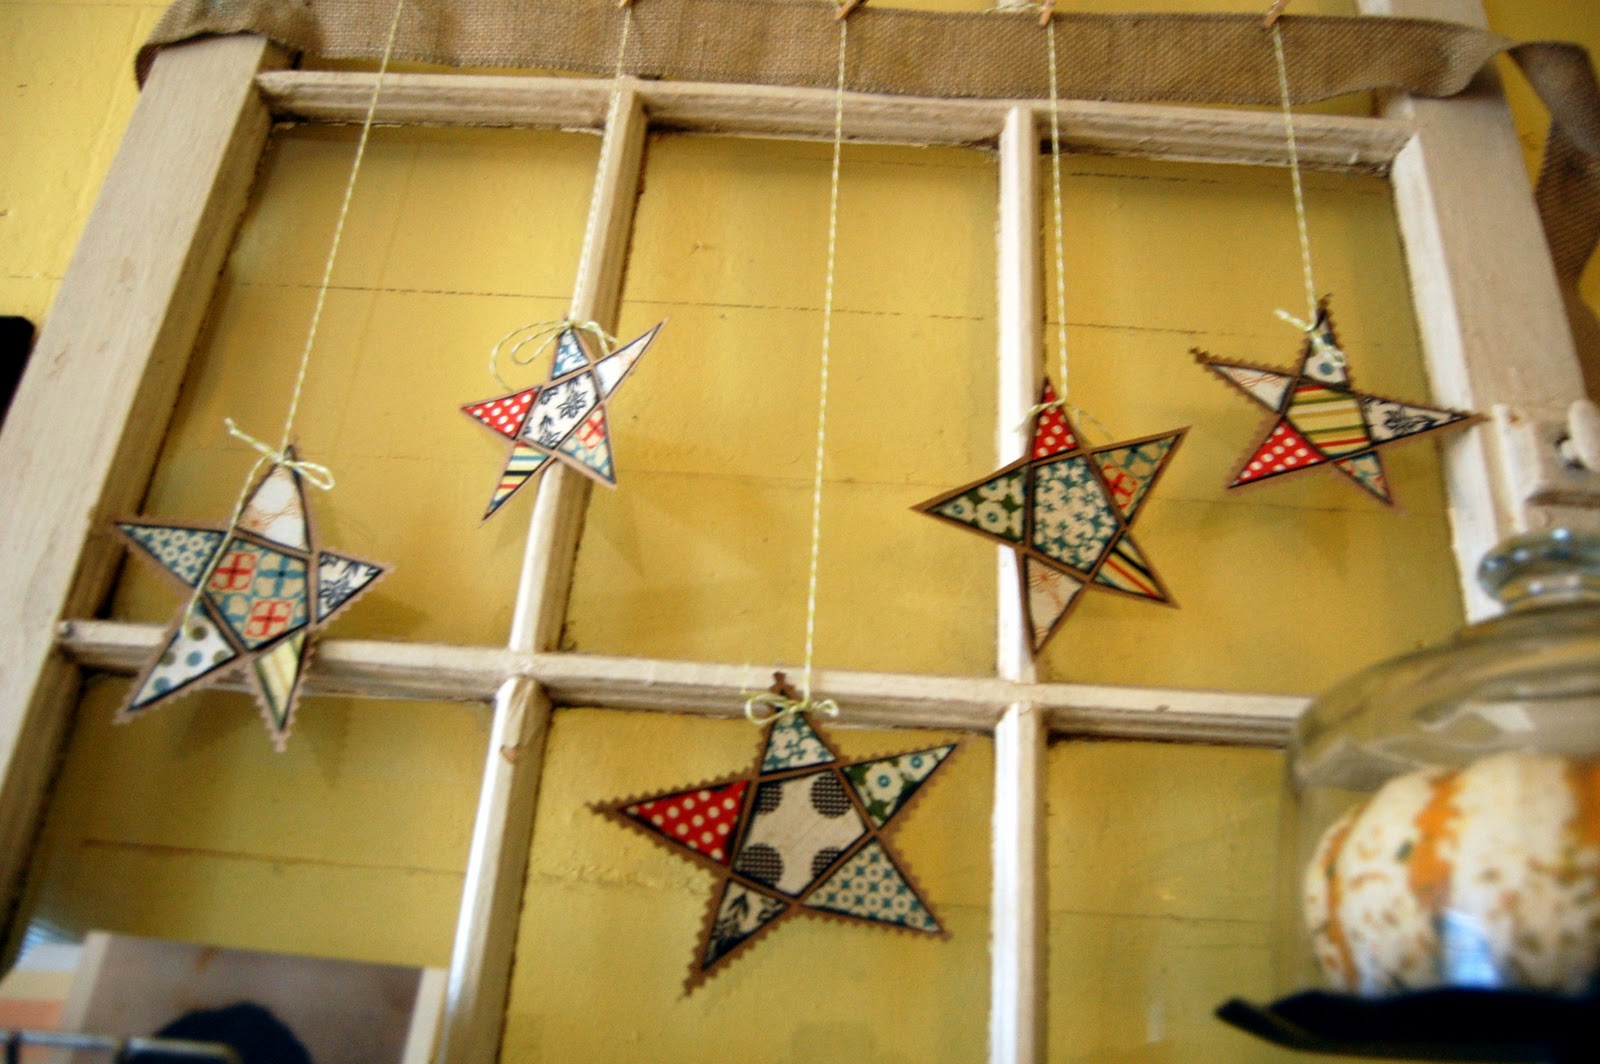
Quilts speak "autumn" to me. I love the look of a comfy, bright, patchwork quilt. I wanted to bring that style into a small area I'm decorating for fall in my bedroom, and I pulled out the new "Harvest Splendor" line from Lily Bee to make some quilted stars. 

Start off by drawing a basic star shape. It does NOT have to be perfect, as a matter of fact, it's even better if it's  not. 

I drew two, one slightly taller and one slightly wider. 

Then cut them apart, but keep them lined up right in order to keep yourself from getting confused. I drew numbers on all the pieces of each star so that I knew which pieces went to which one just in case they got mixed up. 
 Then trace each piece on to various pieces of patterned paper. This is the most time consuming part; settle in with a good tv show on in the background and you're good to go!

 As I did the pieces to each star, I laid them out together on the table to make sure I was keeping everything in order and that I liked the order of patterns & colors. This would also be great to do with the 6x6 pads (but I really liked how the larger patterns looked on these).


Ink all the edges with black ink and an ink dauber. Be careful to not leave it sitting out while you hop up for a minute, because someone might think it's "makeup." Ahem. 

Adhere all the inked pieces down to a piece of kraft cardstock. I left a small amount of space in between each piece. 

Cut the stars out. I alternated between pinking shears and regular scissors. Then punch a hole at the top of each star, and string twine through them. 

Hang from a strip of burlap with tiny clothespins, and enjoy! 


Lily Bee supplies:

Patterned Paper:
Peach Crisp-Harvest Market
Black Licorice-Harvest Market
Turtleneck-Harvest Market
Hayride- Harvest Market
Pumpkin Seeds- Harvest Market
Squash- Harvest Market


Other:
cardstock, scissors, twine, burlap, black ink

Read more...

Studio Peek: Virginia Tillery

>> Thursday, September 22, 2011

Virginia is a mommy of four adorable kids and a really fun gal. Follow her on Twitter and you'll know what I'm talking about. Beware, there will be posts about Dr Who. Not only does she create sweet, whimsical, vintage-y layouts, but she also makes altered items. So we asked her to share a little bit about where she creates all her beautiful projects.


Tell us about your studio.
My "studio" is basically any room in the house I decide to work in! I don't really have a designated scrap space right now; we have four small children and for now, it just doesn't work the best for our family for me to have a whole room to myself. However, with that said, our dining room does double duty as my studio and our general "work on crafts together" room. :)

Are you a day scrapper or a night owl?
I'm TOTALLY a night owl scrapper. I will occasionally scrap during the day (during nap time!) but the creativity really gets flowing at night. 

What do you do with all your altered items?
I use them to decorate my home, give as gifts, and sell at craft shows. 

Do you have a go-to technique or sketch?
I'm a big distresser. I love to sand edges of papers, ink them, paint on them with mists, and fold down corners. 


Dream travel destination:
Ireland, to visit some dear friends there. Or England, to geek out on Harry Potter and Dr. Who stuff. ;)
Or Greece, to eat yummy food and to relax. 

Superhero power:
To freeze time, so I can fit in all the things I want to do each day! 

Favorite food:
Greek (see above with the travel destinations!)

Favorite color combo:
turquoise and pea green

Perfect weekend:
Sleeping in, lunch with friends, rainy weather, lots of candles, a stack of good books from the library, catching a great live music show with the hubs, scrapping late into the night, and worship with friends at church.


Her favorite photo of her family.
Her favorite Lily Bee layout.

Thanks Virginia for sharing your beautiful home and work with us!

Read more...

My little sis

>> Friday, September 9, 2011

When I design a scrapbook page, typically my method is to decorate and embellish and distress and mostly do the "pretty" side of scrapbooking.... and then I get to my journaling and I realize I have no spot left for it so I squeeze it in somewhere. 

My little sister (who is 11 years younger than me) is moving into her first apartment this weekend, and it's welling up all sorts of emotions in me. I wanted to combine my thoughts along with these pictures of my beautiful sis. In order to make sure I have room to make the photos and the journaling the focus, I kept my design fairly simple and even put my journaling smack dab in the middle of the layout where you can't miss it! 
 I loved the little sticker from the "This & That" mixed cardstock stickers sheet with the quote about sisters on it. It was a perfect accent for this page.
Lily Bee Design Supplies used: 

Picket Fence Line- Al Fresco patterned paper, mixed cardstock stickers
This & That Line- Teacup & Brooch patterned papers, mixed cardstock stickers
Stationery Line- Slushie patterned paper
Hello Sunshine Line- Chipboard stickers
Domestic Bliss Line- Chipboard Stickers

Read more...

Getting Beachy with Lily Bee

>> Tuesday, August 16, 2011

A while back, the great folks at Maya Road shared some products with our design team, including this great chipboard album.

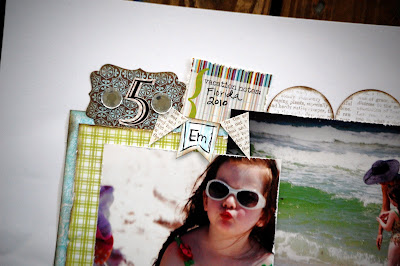
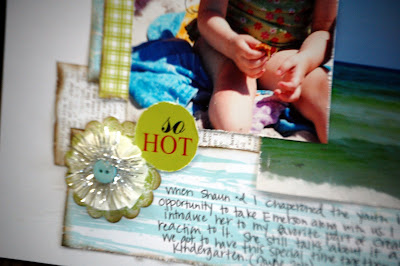
Armed with Lily Bee "Picket Fence," some white paint and Maya Road resist, and a few sparklies, I set about creating this little album for my daughter about her first beach trip.


While I still had the products and pictures out, I decided to go ahead and make a companion layout for my album!


Lily Bee Products used:
Domestic Bliss- Chipboard Stickers
Picket Fence- Veranda Patterned Paper, 6x6 Tiny Tablet, ABC Stickers, Mixed Cardstock Stickers
Stationery- Slushie, Butter

Read more...