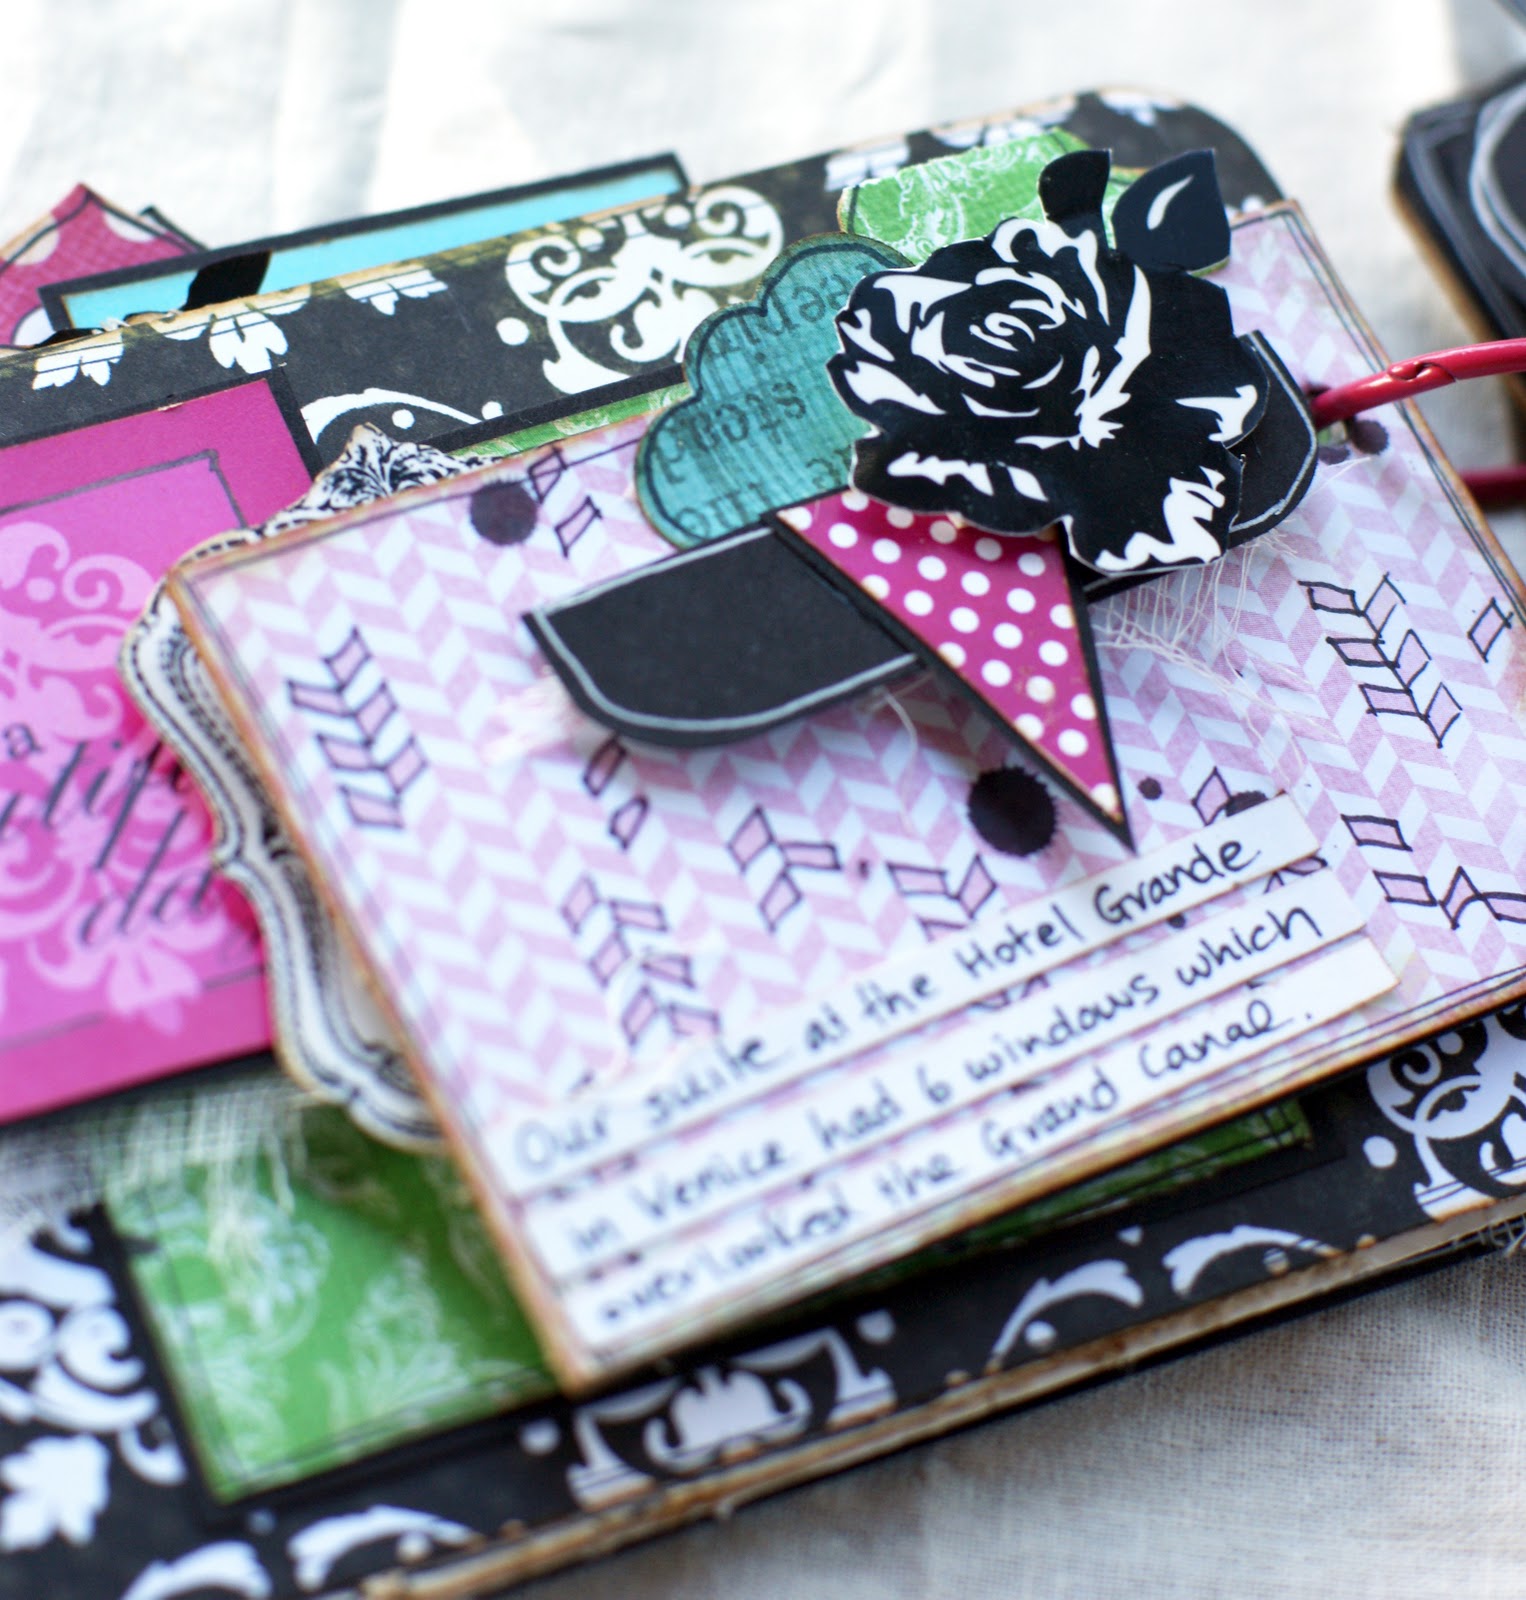
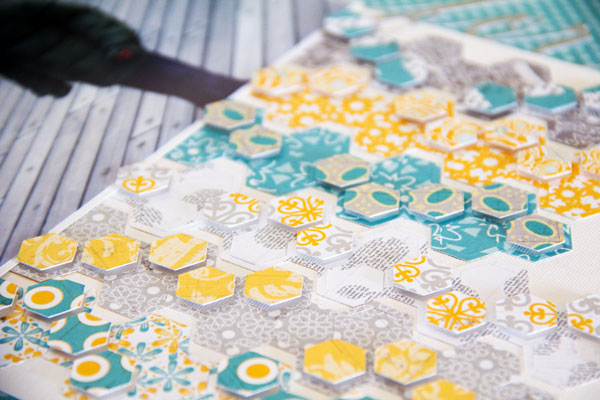
Happy New Year everyone. It's Ronda today with a step by step detailing this adorable mini album for the new year. This quick & easy mini could be used for multiple projects such as a goal journal, a One Little Word album, a monthly glance at your year, etc. So many possibilities in one sweet little album.
Supplies:
a variety of Lily Bee patterned papers
Lily Bee Alphabets
Lily Bee Happily Lost Stamps
two 4 x 6 Chipboard pieces
scoring tool
Paint
Binder Rings
Border Punch
hole punch
Sewing Machine
First you need to cut two pieces of 4 x 6 inch chipboard pieces to create your cover. You can usually purchase these pieces fairly cheaply from your local scrapbook stores. I usually have a stack on hand so i can create my own covers.
Choose your favorite Lily Bee Patterned paper for the cover. Here i am using
This & That Milk Bottle. I just love that blue! Adhere to the front of the chipboard, gluing in the center of the paper. Why you ask? Well i knew i wanted to stitch around the edges of the chipboard so i didn't want my needle hitting the adhesive & getting sticky.
I added a thin paint layer around the edges of the album to give it some texture. I love that it is quick & a bit rough. Next i stitched around the edges of the cover. Yes you can stitch through chipboard. Just go nice & slow, using a long stitch making sure your tension isn't too tight.
Next i added a chipboard accent piece. I painted the top of the butterfly using the same paint i used around the album cover. Next i added a bit of clear glue & some German glass glitter. You could also use regular glitter as well.
Once i added the butterfly to the album i decided the solid orange background wasn't popping enough for me so i changed it up with strips of leftover patterned papers. I added two green stick pins for the antennae which added that pop of color i needed.
I grabbed my Happily Lost Banner Stamp and stamped it on a piece of neutral patterned paper. I went with the same color palette as the paint. This way my title could really stand out.
This album is titled Reflections. In order to get the position right on the banner, i first wrote out my word and found the center letter. I work out from there to fill in the rest of the letters. Sometimes i add the first letter so i know how much room i have. You also have to remember you may have to adjust your "center" letter depending on the font size of the letters.
Next choose a variety of coordinating Lily Bee Papers. I have a fun bright palette of colors choosing warm greens, yellows, pinks, oranges, blues, and a hint of black. They make me happy! You will need twelve 4 x 12 sheets of patterned paper plus one 4 x 6 piece. These are going to be the base of your interior pages.
These 4 x 12 pages become pocket pages similar to the
So Blessed Lily bee album i did in 2010. Score your twelve 4 x 12 pages at 2 inches and at 6 inches. Fold the page in half at the 6 inch score mark. Fold the 2 inch score mark down & punch the edge with your favorite border punch.
You can adhere the two sides down and create the pocket. I like to stitch mine down by stitching all around the edges of the page. Now you have 12 pockets for your mini album, one for each month if you so choose.
I have created these journal inserts for my pocket pages. You can download the pdf of the interior pocket journal cards from
my blog. I am planning on using this to capture my month's at a glance. I will place a photo on one side of the page & the pocket page on the other side.
Because of the way i am doing my photos, i needed a cover page. Here i have two options for the interior cover for you. One uses the the journal card on the cover page to create consistency. The other makes use of the scraps of patterned paper. I gave you this option because you would need to print out an extra journal card to use it on the cover.
Here's the start of my interior pages. I plan on placing a collage of photos on the backside of the green paper, opposite of the January pocket that is a snapshot of my month. Like i said above, you can use this album for multiple projects.
Have a blessed New Year
Read more...